Canva Magic: Turning a Document into a Stunning Slideshow in Minutes
Canva Magic: Turning a Document into a Stunning Slideshow in Minutes
If you've ever struggled with transforming your written content into an engaging slideshow, you're not alone. The process of manually designing slides, aligning text, and making it all visually appealing can be time-consuming. But guess what? Canva has a magic solution just for you!
In this tutorial, I’ll walk you through how to turn a simple document into a polished presentation in just a few clicks using Canva Magic. Whether you’re creating a pitch deck, a webinar presentation, or a workshop slide deck, this tool will save you hours of work.

Step 1: Prep Your Document
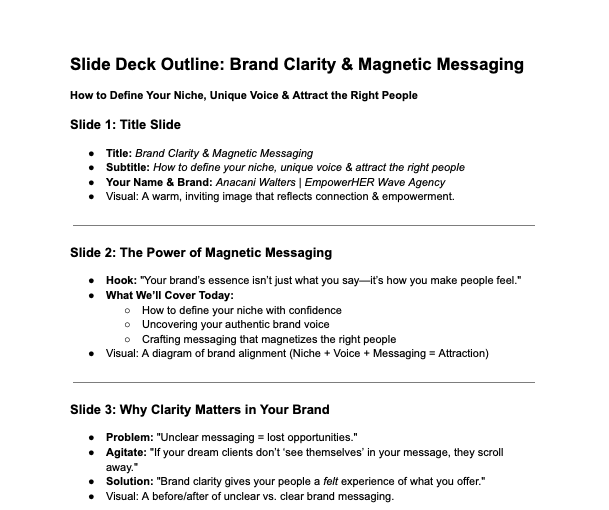
Before we dive into Canva, ensure your document is formatted correctly. If you’ve outlined your slides in a Google Doc or Word file, remove any extra text that won’t be part of your final slides. Think of this as your script or main talking points.
A good rule of thumb is:
✔ Keep bullet points concise
✔ Use headers to separate sections
✔ Avoid long paragraphs—slides should be visually engaging, not overwhelming

Step 2: Copy and Paste Your Content into Canva Docs
Once your document is ready:
Open Canva and navigate to Docs (look for the little green icon on your Canva dashboard).
Click Create a New Doc and paste your content using Command + V (Mac) or Ctrl + V (Windows).
Highlight your title or key section headers and set them as headers in Canva Docs for better formatting.

Step 3: Activate the Magic Switch
Now for the fun part! Canva Magic allows you to instantly transform your doc into a presentation.
Click on Magic Switch at the top.
Select Convert to Presentation and let Canva work its magic!
Within seconds, Canva will generate slides based on your content. It’s like having a personal designer at your fingertips!

Step 4: Customize Your Slides
Once the slides are generated, it’s time to make them visually appealing:
✔ Choose a template that aligns with your brand aesthetic
✔ Adjust fonts and colors (your brand kit will automatically apply if you have Canva Pro!)
✔ Swap out any plain backgrounds with vibrant images or graphics
✔ Ensure text is formatted correctly—some slides may need manual tweaking
Step 5: Add Your Branding Elements
To make your presentation truly stand out: Add brand elements like your logo and color scheme. Incorporate images or videos for visual appeal. Use icons and animations to enhance storytelling
Final Touches & Exporting
Before you finalize your slides, do a quick run-through:
✔ Check for any formatting errors
✔ Ensure text is legible and properly spaced
✔ Align elements for a polished look
Once you're happy with your presentation, you can: Download it as a PDF or PowerPoint. Present directly from Canva. Share a live link with your audience
Watch the Full Tutorial on YouTube!
Want to see this process in action? I’ve uploaded a step-by-step YouTube tutorial where I walk you through the entire process, showing exactly how I transformed my document into a stunning slideshow. Here
See the Final Presentation in My Facebook Group!
I also presented this slideshow in a live training inside my Facebook group, and you can watch the full presentation there for the next 30 days before Facebook removes it! The replay will live permanently inside my Heart & Hustle CEO Club membership.

Ready to Try Canva Magic?
This feature is a game-changer for entrepreneurs, educators, and content creators who want to simplify their workflow without sacrificing quality. If you’re part of my Heart & Hustle CEO Club, you get free access to my Canva Magic Course, where I show you even more ways to elevate your presentations with ease!
Want to learn more? Join the Heart & Hustle CEO Club today for exclusive access to this training and other business-building resources.

Let me know in the comments—have you tried Canva Magic yet? What are your biggest struggles with presentation design?

